Control Groups
We have already discussed about control groups and how they work. Its time we dig deeper inside use of control groups with context to Containers.
There are applications which consume a particular resource more or say are resource hungary and may require control access to minimize excessive use of resources. Examples : Scientific tools
Control groups helps us preventing from intentional or accidental depletion of host's resources.
It helps to allow multiple containers to be co hosted at single host by resource control mechanisms.
Limiting Resouces using Cgroups
We will be making use of stress to overload our container and then will limit the resources using Cgroups.
Stress :
Stress is a simple workload generator for POSIX systems. It imposes a configurable amount of CPU, memory, I/O and dist stress on the system. It is a tool and written in C language.
In our case we will be making use of Stress inside a container so that we can play with it and can limit resources using Cgroups.
I will be using a Dockerfile which we will turn into image by building it and then will run is as a containers.
Note: Dockerfile is a blueprint or say a text document that containes all the commands a user could call on the command line to make an image.
Content inside the Dockerfile is :
FROM ubuntu

RUN apt-get update                                    && \
apt-get install -y --no-install-recommends stress && \
rm -rf /var/lib/apt/lists/*

ENTRYPOINT ["stress"]
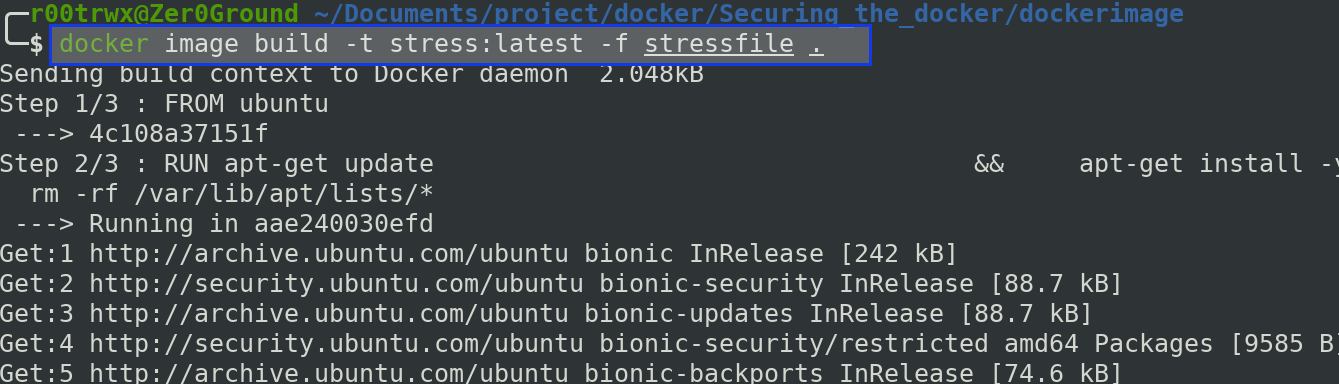
Lets build it.
$ docker image build -t stress:latest -f stressfile .
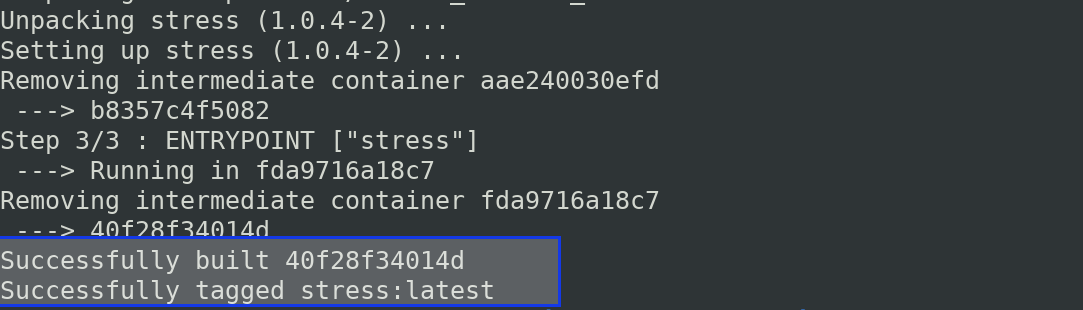
Once it is successfully built,
$ docker run -it --rm --name pankaj stress -q -c 1 --vm 1 --vm-bytes 1500m --vm-keep
-q : be quiet
--vm N :        spawn N workers spinning on malloc()/free()
--vm-bytes B:   malloc B bytes per vm worker (default is 256MB)
--vm-stride B:  touch a byte every B bytes (default is 4096)
--vm-hang N:    sleep N secs before free (default none, 0 is inf)
--vm-keep :     redirty memory instead of freeing and reallocating
Note: In order to check your no. of CPU availability use below command
$ grep -c ^processor /proc/cpuinfo
Now lets take a look at how much resources are being used using htop monitoring.
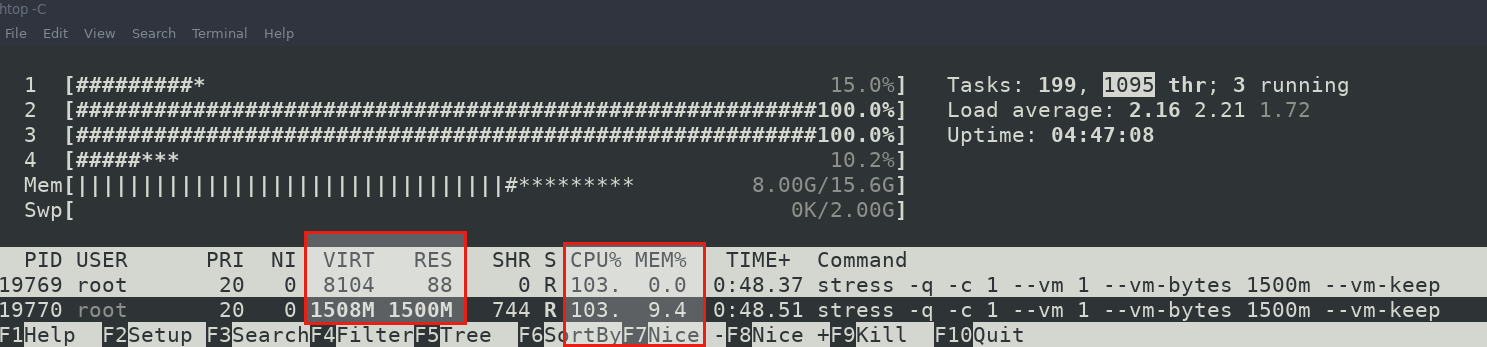
See, it is consuming all of my CPU resources and memory around 9%.
Now lets exit this container and apply control group resource limitations.
$ docker container rm -f pankaj
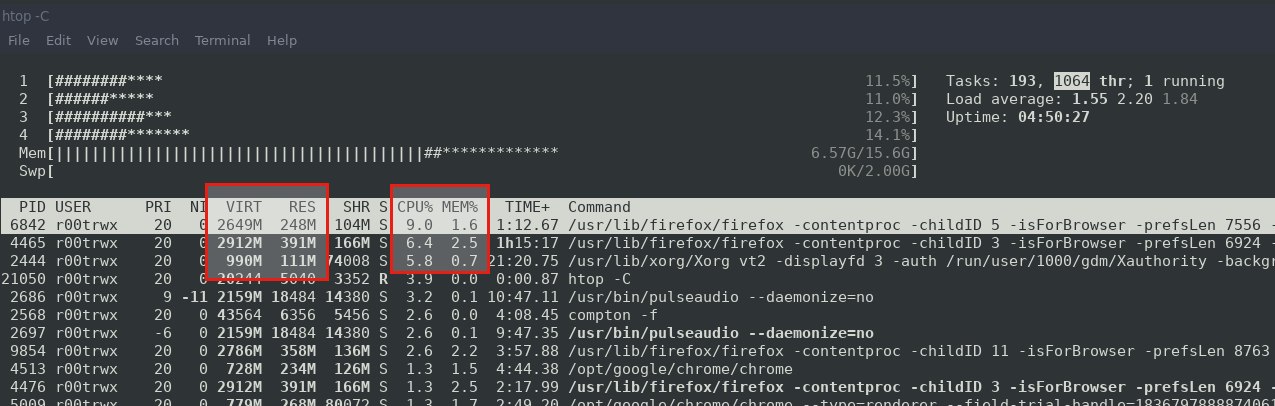
once container is exited, take a look at htop again.
Now we will run the container again with resource control applied.
$ docker run -it -d --cpus 0.80 --memory 1g --name pankaj stress -q -c 1 --vm 1 --vm-bytes 1500m --vm-keep

Now the CPU and memory is not used as above when limits were not applied.
Applying Process Limitation
We can apply limits on number of process to prevent intentional or accidental depletion of system resources.
Note: One can perform DOS attack on system which can be prevented using control groups.
Lets run a container again and this time we will apply Process ID limit
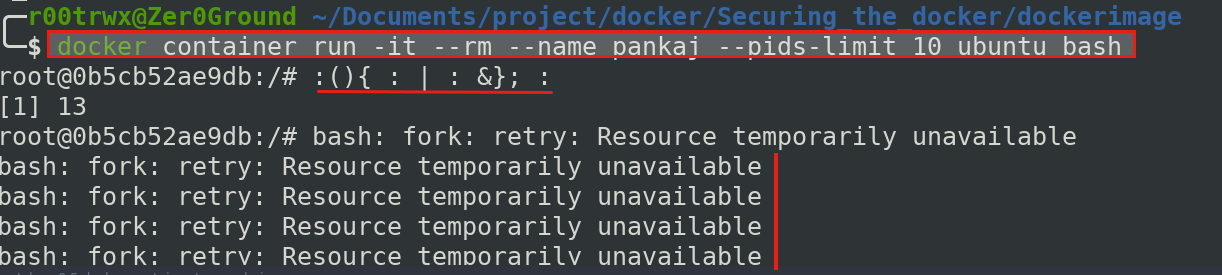
$ docker run -it --rm --name pankaj --pids-limit 10 ubuntu bash
Also set up a monitor to display all the processes running inside the container.
$ watch -n 0.5 docker container top pankaj -e
We will now perform a fork Bomb denial of service attack on our running container and will see the process in our monitor mode.
Fork Bomb: In computing, a fork bomb (also called rabbit virus or wabbit) is a denial-of-service attack wherein a process continually replicates itself to deplete available system resources, slowing down or crashing the system due to resource starvation
$ :(){ : | : &}; :
Don't perform this without setting PID limits on host system or inside container. It will make your system inoperable and you might need to force your system to restart.
Our container with attack performed.
Below image shows the monitor mode
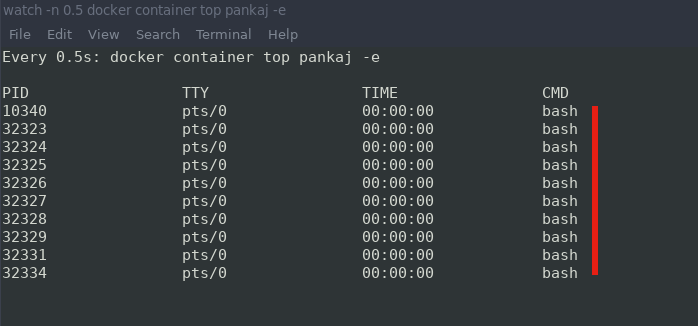
We applied process limits to 10 and hence the attacked stoped after 10 PIDs.